


That searing pain from a rolled ankle—we’ve all been there. One minute you’re cutting across the soccer field or just stepping off a curb, and the next, you’re on the ground. It’s an incredibly common injury. In the U.S., a staggering 2 million acute ankle sprains happen every year, and that’s just what gets reported. Many more people just tough it out at home.
How you handle those first 48-72 hours can make a world of difference, shaping your entire recovery timeline and helping you sidestep chronic problems down the road. It’s all about protecting the joint and managing that initial, aggressive swelling.
Your First Steps After an Ankle Sprain

For decades, the go-to advice was the simple RICE method: Rest, Ice, Compression, and Elevation. It’s not wrong, but our understanding of tissue healing has come a long way. The current gold standard in sports medicine is a more comprehensive framework known as PEACE & LOVE.
This modern approach recognizes that healing is more than just a physical fix. It emphasizes controlled, early movement to prevent stiffness and incorporates the psychological side of recovery, which is just as important.
The big idea behind PEACE & LOVE is to work with your body’s natural healing process, not against it. We're moving away from total immobilization and instead focusing on smart, gradual loading to build a stronger, more resilient ankle.
PEACE: Immediate Care for the First 1-3 Days
The PEACE acronym is your game plan for the first few days when the ankle is at its most vulnerable. The goal is simple: protect the joint, manage the swelling, and avoid anything that could make the injury worse.
- Protect: For the first 1-3 days, unload the ankle to avoid causing more pain or damage. This might mean using crutches to stay off it completely.
- Elevate: Prop your injured ankle up so it’s higher than your heart whenever you’re resting. Gravity is your friend here, helping to drain fluid and reduce that puffy, balloon-like swelling.
- Avoid Anti-Inflammatories: This is a huge shift from the old "pop an ibuprofen" advice. While it feels counterintuitive, inflammation is actually the first step in the healing cascade. Avoiding NSAIDs for the first 48-72 hours lets your body do its essential repair work.
- Compress: A simple elastic bandage can work wonders for managing swelling. Wrap it snugly from your toes up towards your leg, but never so tight that you feel tingling, numbness, or more pain.
- Educate: Listen to your body. Understanding what’s happening in your ankle empowers you to make smart decisions and avoid the common mistake of doing too much, too soon.
Immediate Ankle Sprain Care Protocols Explained
For a clearer picture, this table breaks down the key differences between the traditional RICE method and the more holistic PEACE & LOVE protocol. It’s a great quick-reference guide for those first critical 72 hours.
| Component | RICE Protocol | PEACE & LOVE Protocol | Practical Tip |
|---|---|---|---|
| Rest/Protect | Advises complete rest. | Recommends "Protection" by unloading the joint to avoid pain for 1-3 days. | Use crutches if you can't walk without a significant limp. |
| Ice/Inflammation | Ice is a core component. | Avoids anti-inflammatories and is less aggressive with icing to allow natural healing. | Ice for 15-20 minutes every few hours for pain relief, not to eliminate all inflammation. |
| Compression | Both protocols recommend compression to manage swelling. | Both protocols recommend compression to manage swelling. | Use an elastic bandage, starting from the toes and wrapping upwards. |
| Elevation | Both protocols strongly advise elevation above the heart. | Both protocols strongly advise elevation above the heart. | When sitting or lying down, prop your foot on a stack of pillows. |
| Next Steps | Focuses only on the acute phase. | Includes the "LOVE" phase for ongoing recovery (Load, Optimism, Vascularisation, Exercise). | This highlights that healing doesn't stop after 72 hours; it transitions to active rehab. |
As you can see, the core principles of compression and elevation remain, but the modern approach reframes how we think about rest and inflammation, setting you up for a much smoother transition into rehabilitation.
LOVE: Shifting to Active Recovery and Healing
Once the initial pain and swelling start to subside, you transition from PEACE to LOVE. This is where the real work begins. The focus shifts from protection to actively encouraging the body to rebuild and get stronger.
- Load: As soon as pain allows, start putting gentle weight on the ankle. This "optimal loading" is crucial—it sends signals to your ligaments to repair and remodel themselves, making them stronger than before.
- Optimism: Don't underestimate the power of a positive outlook. Believing you will get better and staying confident in your recovery can genuinely impact your physical outcome. Stay patient and celebrate small wins.
- Vascularisation: A few days post-injury, get moving with some pain-free cardio. Hopping on a stationary bike or going for a swim boosts blood flow to the ankle, delivering the oxygen and nutrients needed for repair.
- Exercise: This is the cornerstone of a full recovery. Targeted exercises are essential for restoring your ankle's mobility, strength, and proprioception (its ability to sense its position in space). Fueling your body properly is also a big part of this, so check out some ideas for the best post-workout recovery foods to support tissue repair.
Your Ankle Sprain Grade and What It Means for Recovery
So, you’ve rolled your ankle. The first question that’s probably running through your mind is, "How bad is it?" That's the most important question to answer, because not all sprains are created equal.
In the medical world, we "grade" sprains to classify their severity. This grade is your roadmap—it tells us what’s happening inside your ankle, how much pain to expect, and, most importantly, how long you’ll be on the mend. Nailing this down from the start helps you set realistic goals and keeps you from making the classic mistake of coming back too soon, which can turn a simple sprain into a chronic, nagging problem.
Grade 1 Sprain: The Classic Rolled Ankle
A Grade 1 sprain is the one most of us have experienced at some point. It’s a minor twist where you feel that immediate, sharp pain, but you can usually still walk on it, even if you’re limping a bit. The ligaments got a good stretch, maybe some tiny microscopic tears, but they're still fully intact.
Here’s what a Grade 1 sprain usually looks and feels like:
- Mild pain and tenderness, mostly when you press on the area around the ankle bone.
- A little bit of swelling or puffiness, but nothing too dramatic.
- No real instability. Your ankle should still feel solid and trustworthy when you stand on it carefully.
The good news? The recovery timeline here is pretty quick, usually somewhere between one and three weeks. The game plan is to control the initial swelling for a day or two and then ease into gentle movement and strengthening exercises to get back on your feet.
Grade 2 Sprain: A Partial Tear and a Longer Road
Now, a Grade 2 sprain is a different beast entirely. This isn't just a stretch; one or more of your ligaments have partially torn. You’ll feel the difference right away—the pain is much more intense, and trying to walk on it is a real challenge.
Look for these key signs:
- Moderate to severe pain. Putting any real weight on it is going to hurt.
- Obvious swelling and bruising. You'll often see bruising spread down into your foot and toes over the next day or two.
- A feeling of instability. Your ankle might feel "wobbly" or loose, like it could give out.
With a Grade 2 sprain, patience is key. Healing properly can take anywhere from three to six weeks. I can't stress this enough: rushing back from this level of injury is one of the biggest reasons people develop chronic ankle instability down the line.
Grade 3 Sprain: The Complete Tear
The most severe of the bunch is a Grade 3 sprain, which means a complete tear, or rupture, of a ligament. This is a serious injury. Many people hear or feel a distinct "pop" when it happens, followed by intense pain and an immediate inability to put any weight on it at all.
What to expect with a Grade 3:
- Severe, immediate pain.
- Significant swelling and bruising that balloons up quickly around the entire ankle.
- Major instability. The ankle joint will feel extremely loose, and standing on it is out of the question.
A Grade 3 sprain is a major medical event. Recovery is a long haul, often taking several months to fully heal. This injury almost always requires a doctor's evaluation, crutches, and a dedicated physical therapy program to rebuild your ankle's strength and stability.
As you can see, recovery timelines are all over the map. Research shows that anywhere from 36% to 85% of people report a full recovery, depending on the severity and how long they were followed up with. It just goes to show why figuring out your sprain's grade is the critical first step. For a deeper dive into the data, you can read more about ankle sprain healing times on PMC.
Red Flags: When to See a Doctor Immediately
While you can manage most minor sprains at home for the first day or two, some signs are non-negotiable red flags. Don't try to tough it out if you notice any of these:
- You can't bear weight. If you can't take at least four steps, you need to get it checked out. This is a key indicator of a possible fracture.
- The pain is right on the bone. If pressing on the bony bumps on either side of your ankle (the malleoli) causes sharp pain, it could be a break.
- Numbness or tingling. Any loss of sensation in your foot or toes needs immediate attention.
- You heard a "pop" when it happened. This often signals a complete ligament rupture or a fracture.
Getting a proper diagnosis isn't just a suggestion—it's the foundation of a successful recovery. It rules out more serious injuries and ensures you start on the right path from day one.
Your Phased Ankle Sprain Exercise Plan
Once the initial, intense pain and swelling start to subside, it's easy to feel like you're out of the woods. But this is actually where the most crucial part of your ankle sprain recovery begins: smart, structured rehabilitation.
Simply resting until the pain disappears is a common mistake and a fast track to re-injury. Why? Because rest alone doesn't rebuild the strength, stability, and sensory feedback your ankle has lost. A phased approach to exercise is the key—not just to heal, but to build a more resilient joint that can handle whatever you throw at it.
This isn't about gritting your teeth and pushing through pain. It’s about listening to your body and using progressive movements that respect its healing process. We'll walk through this journey together, starting with gentle motion and building up to exercises that get you back to your daily life, work, or sport.
Phase 1: Gentle Motion And Activation
In the early days, the main goal is simply getting your ankle moving again. After being swollen, painful, and protected, the joint can become incredibly stiff. Gentle, pain-free movement is your best friend here—it helps reduce that stiffness, boosts circulation to the healing tissues, and prevents problematic scar tissue from forming.
Think of this as gently waking up the ankle after a shock. We're not focused on strength just yet; it's all about reminding the joint how to move.
A fantastic starting point is the classic Ankle Alphabet.
- Find a comfortable chair where your foot can hang freely.
- Using your big toe like a pencil, slowly and deliberately trace each letter of the alphabet in the air.
- The key is to make sure the movement comes from your ankle, not your whole leg.
- Run through this simple routine 2-3 times a day.
This little drill moves your ankle through all its natural motions without the stress of bearing weight. As you feel more comfortable, you can add in a few other simple movements:
- Ankle Circles: Gently rotate your ankle clockwise 10-15 times, then switch and go counter-clockwise. Keep the movement smooth and well within a pain-free range.
- Flex and Point: Slowly point your toes away from you (plantarflexion), hold for a moment, then pull them back toward your shin (dorsiflexion). Repeat this back-and-forth motion 15-20 times.
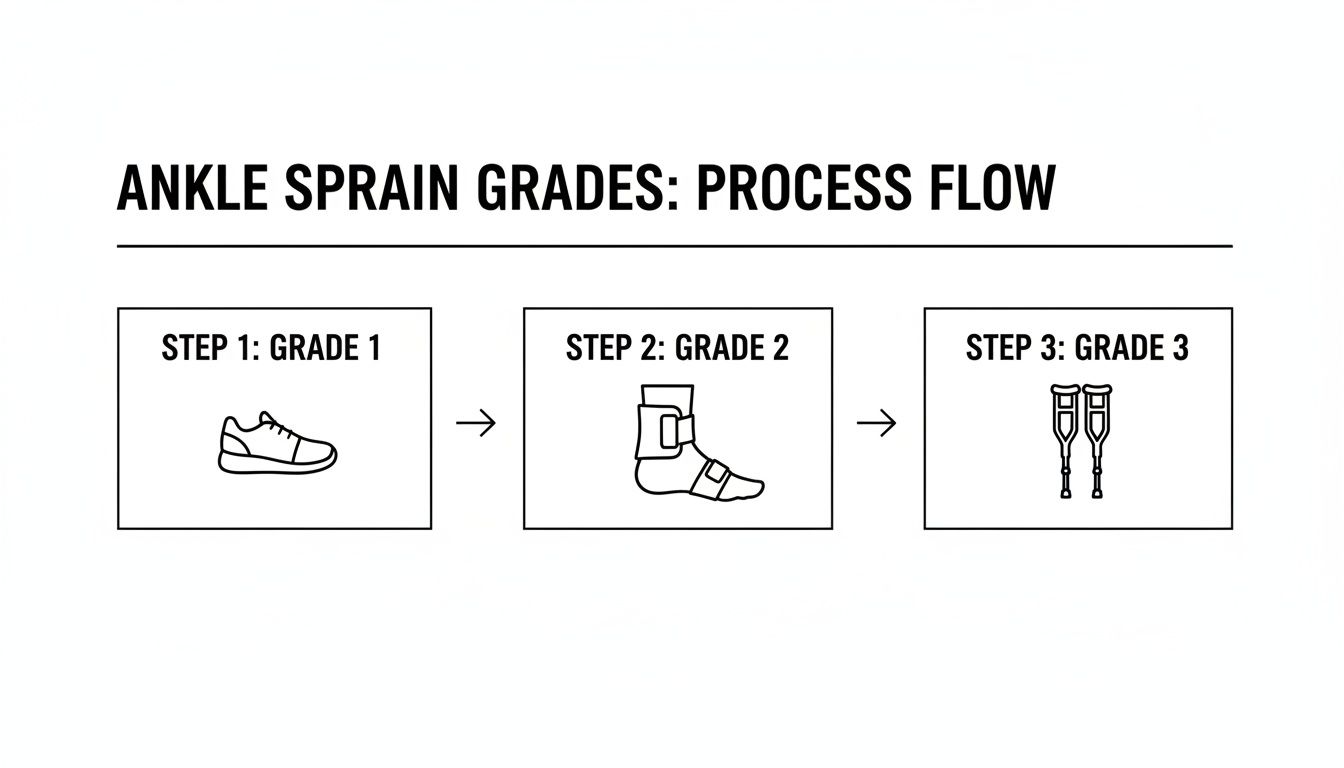
This visual is a great reminder of how support needs to change based on injury severity. The more significant the sprain, the more you need to unload the joint before even starting these gentle exercises.
Phase 2: Rebuilding Strength And Control
When you can move your ankle through its full range without much pain and can bear weight comfortably, it’s go-time for rebuilding strength. The muscles around your ankle are like dynamic braces for the joint, and they need to be strong to protect your ligaments from future trouble.
We'll start with the basics and slowly dial up the intensity. Resistance bands are an invaluable tool for this phase.
- Banded Movements: Loop a resistance band around your foot. For eversion (turning your sole outward), anchor the band on the inside and press your foot out. For inversion (turning your sole inward), anchor it on the outside and pull in. Aim for 2-3 sets of 15-20 reps for each direction.
Calf raises are another cornerstone for building lower leg strength that directly supports the ankle. Start with two-legged calf raises, using a wall or chair for balance, and shoot for 3 sets of 15 reps. As you get stronger, progress to single-leg raises on your injured side. If you're looking to build these into a bigger routine, our guide on a beginner home workout routine can help you create a balanced plan.
Phase 3: Mastering Balance And Proprioception
This last phase is, without a doubt, the most important for preventing another sprain—and it's the one people skip most often. We need to talk about proprioception. It's your body's internal GPS, its ability to sense its own position in space.
When you sprain an ankle, the tiny nerve receptors in those ligaments get damaged, which throws this sense way off. Retraining it is absolutely essential for getting your ankle's stability and reaction time back online.
You can have the strongest ankle in the world, but if your brain doesn't know what it's doing, you're still at high risk for another sprain. Balance exercises are non-negotiable for a full recovery.
Start simple. Just try balancing on your injured leg.
- Stand on that leg and try to hold steady for 30 seconds.
- Once that feels easy, try it with your eyes closed. It's a game-changer and reveals just how much you rely on your vision.
- When you've got that down, increase the challenge by standing on an unstable surface, like a pillow or folded-up towel.
As your confidence grows, you can start adding more dynamic, real-world movements:
- Wobble Boards or BOSU Balls: Just standing on one of these forces your ankle to make constant, tiny adjustments, which is a powerful way to retrain its proprioceptive pathways.
- Functional Movement: Start with some light jogging in a straight line. From there, you can progress to carioca drills (grapevine steps) and figure-eight running patterns to challenge the ankle from different angles.
- Plyometrics: This is the final boss for athletes. Reintroduce explosive movements by starting with small, two-footed hops in place, then moving to single-leg hops, and eventually, box jumps.
This structured plan outlines the progression clearly, helping you know when and how to advance.
Ankle Sprain Rehabilitation Exercise Plan
| Rehab Phase | Primary Goal | Example Exercises | Sets/Reps Guide |
|---|---|---|---|
| Phase 1: Early Motion | Restore pain-free range of motion, reduce stiffness, and promote healing. | Ankle Alphabet, Ankle Circles, Towel Scrunches, Gentle Calf Stretches. | Perform 2-3 times daily, focusing on movement quality, not quantity. |
| Phase 2: Strengthening | Rebuild strength in the muscles supporting the ankle joint. | Resistance Band (all 4 directions), Double/Single-Leg Calf Raises, Glute Bridges. | 2-3 sets of 15-20 reps, 3-4 times per week. |
| Phase 3: Balance & Proprioception | Retrain nerve pathways for stability and reaction time to prevent re-injury. | Single-Leg Stance (eyes open/closed), Wobble Board, Tandem Walking. | Hold balance for 30-60 seconds, 2-3 sets daily. |
| Phase 4: Return to Activity | Prepare the ankle for the specific, dynamic demands of work or sport. | Light Jogging, Figure-Eight Running, Box Jumps, Sport-Specific Drills. | Start with low intensity and gradually increase volume and complexity as tolerated. |
By moving through these phases diligently, you ensure your ankle doesn't just feel better—it becomes functionally stronger, more stable, and far more prepared for everything you love to do.
Advanced Strategies for Returning to Your Sport
Getting through the initial rehab exercises is a fantastic milestone. The pain is gone, the swelling has vanished, and you're walking around without a limp. But here's the reality check I give all my clients: there is a huge difference between walking normally and being ready for the explosive, split-second demands of your sport.
This is the final, crucial stage of recovery. It’s all about bridging that gap by rebuilding the power, speed, and reactive control your ankle needs to cut, jump, and pivot without a second thought. I've seen it time and time again—athletes who rush this step are the ones who end up with frustrating, recurring sprains. Treating this phase seriously is your best insurance policy against another injury.
Building Explosive Power with Plyometrics
After weeks of controlled strengthening exercises, your ankle muscles are definitely stronger, but are they fast? Probably not. That's where plyometrics come in. These are explosive exercises designed to train your muscles and nervous system to produce maximum force in a minimal amount of time. Think of it as re-calibrating your ankle's natural "spring" mechanism, which is vital for nearly every athletic movement.
Before you even think about jumping, you need a solid foundation of strength. A great benchmark I use is the ability to perform 20-25 single-leg calf raises on your injured side without pain or giving out.
Once you’re there, you can start layering in plyometrics safely:
- Two-Foot Hops: Start simple. Just hop in place on both feet, focusing on a soft, quiet landing.
- Directional Hops: Now, challenge your stability. Progress to hopping forward, backward, and side-to-side.
- Single-Leg Hops: When you feel solid, try hopping in place on just your injured leg.
- Box Jumps: Grab a very low box or step. The goal here is a controlled jump up and an even softer landing, absorbing the force through your hips and knees, not just your ankles.
These drills are intense, so listen to your body. Start with a couple of sets of 8-10 reps, two or three times a week. Don't push through pain.
Reintroducing Sport-Specific Movements
Now it's time to make your rehab look like your sport. A basketball player’s ankle needs to handle different forces than a trail runner's. This phase is all about reintroducing the exact movements your sport demands, but in a controlled, progressive way. The golden rule is to start slow and gradually ramp up the speed and complexity.
- For Runners: A walk/jog program on a flat, predictable surface like a track is the perfect starting point. I often recommend a pattern of jogging for one minute, then walking for two, repeating that cycle for 15-20 minutes. As you feel good, you can slowly increase the jogging intervals.
- For Field Sports (Soccer, Football): Start by running large, gentle figure-eights. As your confidence grows, tighten the turns to put more demand on the ankle. You can also mix in drills like carioca (grapevine) and slow-speed cutting patterns.
- For Court Sports (Basketball, Volleyball): Get back on the court and practice defensive slides, gentle jumping (as if for a rebound), and pivots without any opponents. The idea is to simulate game actions at 50% speed and build from there.
A lot of these drills don't require a full gym setup. If you're working out at home, you can find some great exercise equipment for small spaces to help with your training.
The Final Checklist Before You Return
So, how do you really know you're ready to get back in the game? It shouldn't just be a gut feeling. A safe return to play is all about meeting objective, measurable goals. Before you compete, you need to be able to confidently check every one of these boxes.
A pain-free ankle is not the same as a game-ready ankle. Passing objective functional tests is the only way to know you've minimized your risk of re-injury, which can be as high as 40% without proper rehabilitation.
Here’s your final return-to-play checklist:
- Full Range of Motion: Your injured ankle’s flexibility is identical to your uninjured side.
- Symmetrical Strength: You can perform a single-leg hop for distance, and the injured side measures at least 90% of the distance of your uninjured side.
- Pain-Free Movement: You can run, cut, jump, and perform all your sport-specific drills without any pain—either during or after the session.
- Psychological Confidence: You can move aggressively without hesitating or subconsciously protecting the ankle. This mental piece is just as critical as the physical recovery.
How to Prevent Future Ankle Sprains
Getting back on your feet after an ankle sprain is a huge win, but the work isn't over just because the pain is gone. Here’s the hard truth: once you sprain an ankle, you’re far more likely to do it again. It's a frustrating cycle of re-injury that can set you up for chronic instability down the road.
The final, and arguably most important, phase of your recovery is breaking that cycle. This means shifting your mindset from healing to building long-term resilience. With a few key strategies, you can build an ankle that isn't just healed, but is stronger and more stable than it was before the injury.
The statistics are pretty eye-opening. Some studies show that up to 40% of ankle sprains lead to chronic ankle instability, that nagging feeling that your ankle could give out at any moment. Research on U.S. military personnel found that 44.1% of individuals sprained their ankle at least one more time after the initial injury. You can dig into the data on ankle sprain recurrence and instability to see just how common it is.
Sharpen Your Ankle Awareness with Proprioception
Your best defense against another sprain is improving your proprioception. Think of it as your body's internal GPS—its ability to sense where it is in space. An injury to a ligament scrambles that signal, and simple balance exercises are the only way to get it back online.
These aren't really strength exercises; they're more like communication drills between your ankle and your brain. The goal is to make your ankle’s protective reactions faster and more automatic, so it can catch you before you roll it again.
- Single-Leg Stance: Simply try to balance on your previously injured leg for 30-60 seconds. When that feels steady, close your eyes. You'll be surprised how much harder it is.
- Unstable Surfaces: Once you master the floor, move onto a pillow, a folded towel, or a wobble board. This forces all those tiny stabilizing muscles to fire on all cylinders.
- Dynamic Balance: Start adding movement. Try doing single-leg deadlifts or have a partner toss a ball to you while you balance on one foot.
Consistency trumps intensity here. A few minutes of balance work every day will do more to improve your ankle's stability and slash your re-injury risk than one long, intense session per week.
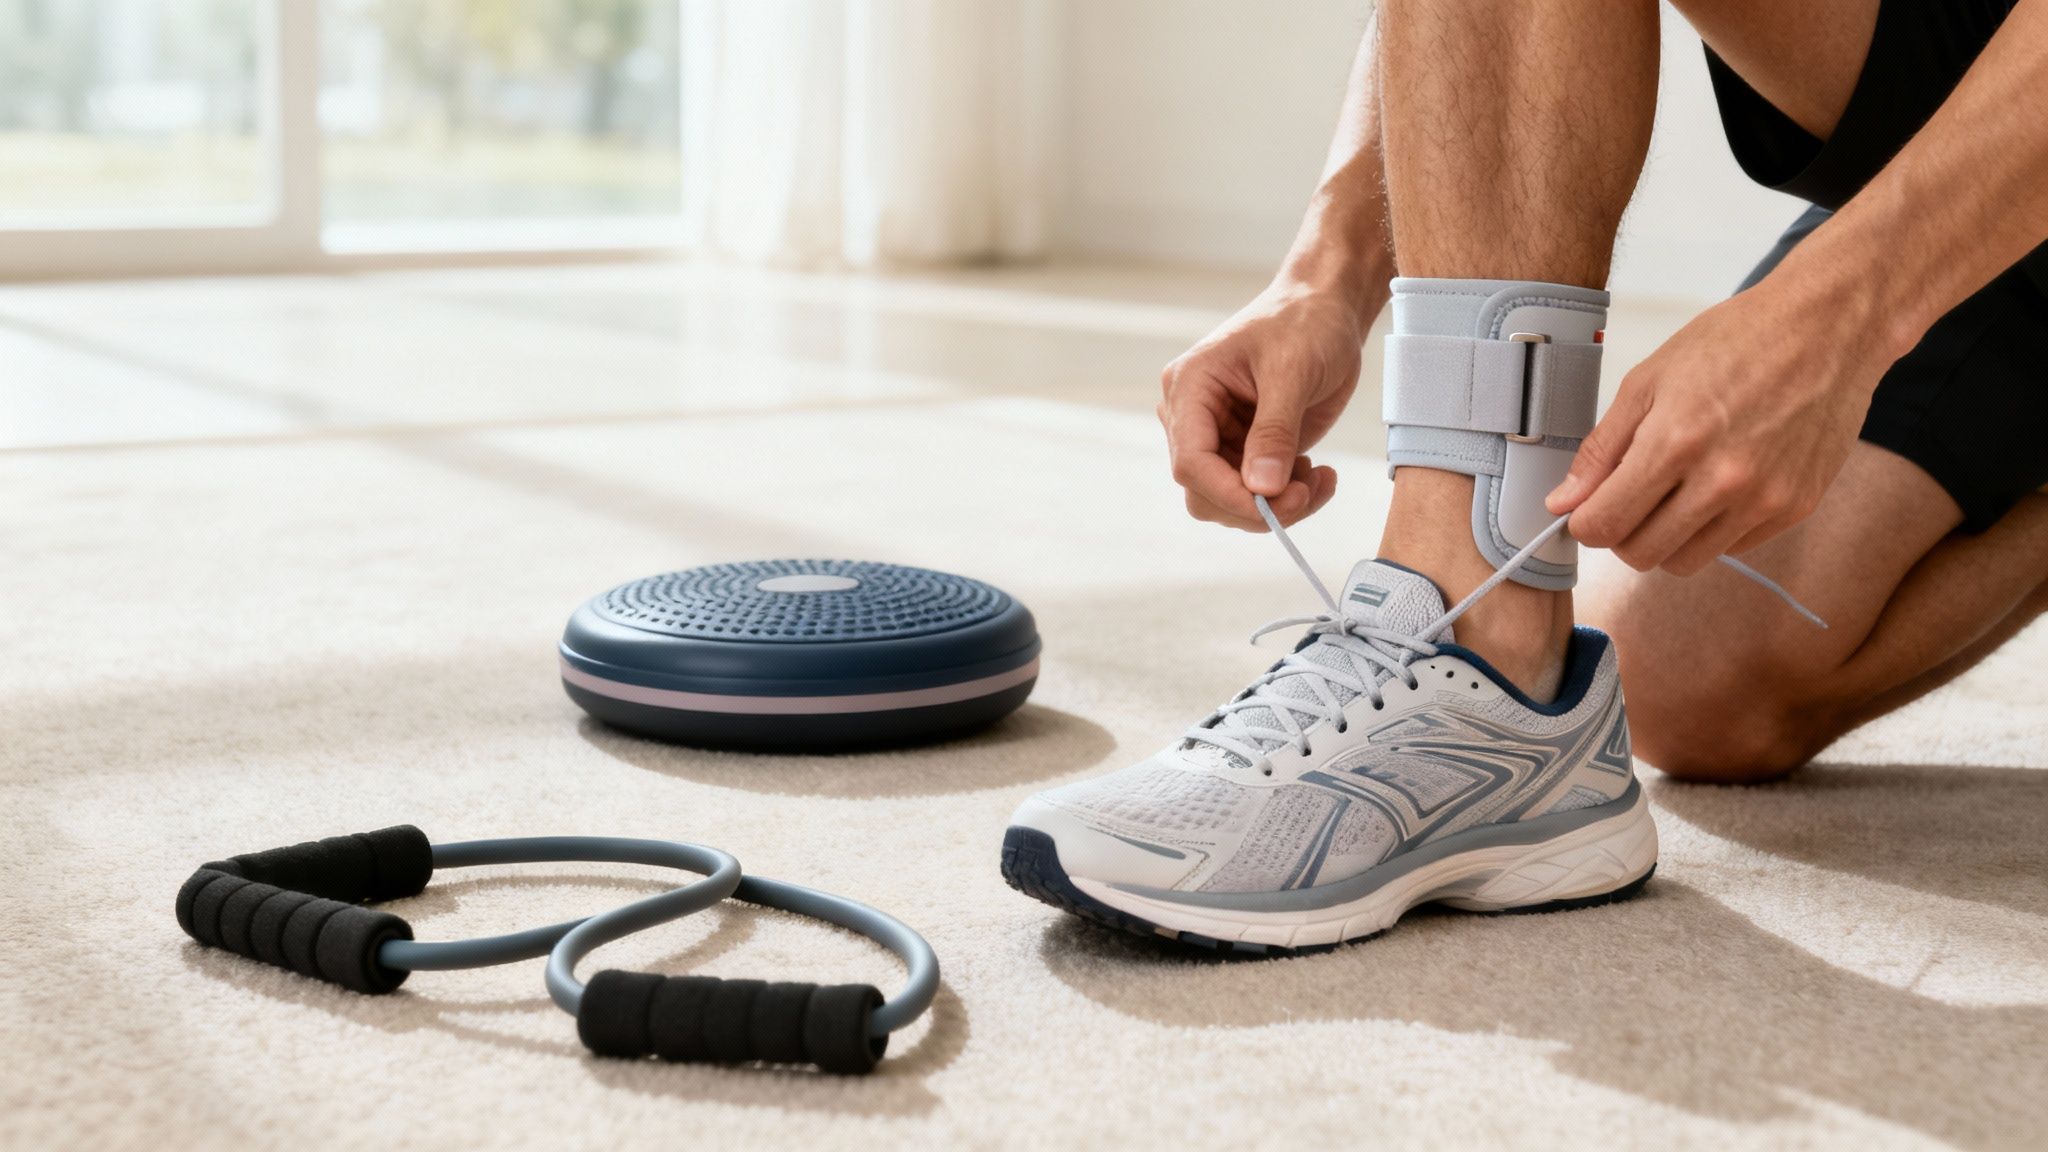
Ankle Bracing vs. Taping: What’s Best?
Adding some external support can be a game-changer, especially as you return to sports or other high-risk activities. Both taping and bracing provide physical support, but they also enhance that proprioceptive feedback we just talked about, giving your brain a clearer picture of your ankle’s position.
Ankle Taping
- Pros: It’s completely customizable to your foot, providing a very specific and rigid fit.
- Cons: It loses support quickly once you start moving and sweating. It also takes skill to apply correctly and the cost of tape adds up fast.
Ankle Bracing
- Pros: A brace is reusable, easy to put on, and gives you consistent support for hours. You can find everything from soft, lace-up styles to more rigid models.
- Cons: Some can feel a bit bulky in your shoe and might not give you that same "locked-in" feeling as a professional tape job.
For most people, a good lace-up or semi-rigid brace is the most practical choice. It gives you a great blend of support, convenience, and value for long-term use during activity.
Build a Strong Foundation from the Ground Up
Your ankle is part of a chain, and it's often the last link to take the hit. Weakness further up—especially in your hips and core—is a major hidden cause of ankle instability. If your big, powerful hip muscles aren't controlling your leg's rotation and alignment, your little ankle is left to manage forces it was never designed to handle.
By strengthening your glutes, hamstrings, and core, you create a stable foundation for every step you take. Simple moves like glute bridges, clamshells, and planks build a powerful chassis that protects your entire lower body.
And finally, take a hard look at your shoes. Worn-out footwear or shoes that aren't right for your activity offer terrible support and put you at risk. Make sure your everyday and athletic shoes have solid heel control and good cushioning, and replace them before they break down.
Answering Your Ankle Sprain Recovery Questions
It's one thing to have a recovery plan, but it's another to navigate the day-to-day uncertainties that pop up. When you're in the thick of it, a lot of practical questions come to mind. Let's tackle some of the most common ones I hear from people recovering from a sprain.
Getting clear, straightforward answers can make all the difference, helping you feel more in control of your healing process.
Why Does My Ankle Still Hurt Weeks Later?
Feeling frustrated by a sore ankle weeks after the injury is incredibly common. Ligament healing is a notoriously slow business, and it's rarely a straight, upward line of progress. More often than not, the lingering ache isn't from the original tear itself but from all the surrounding tissues that have been working overtime to compensate.
Your muscles and tendons have been picking up the slack for the injured ligament, which can lead to fatigue, stiffness, and those secondary aches and pains. It's a sign that your body is still adapting.
The real trick is learning to tell the difference between the sharp, "bad" pain of re-injury and the dull, achy "good" pain of healing and rehab. As long as the discomfort is manageable and slowly improving, you're likely on the right path.
Is It Okay to Walk on a Sprained Ankle?
This one really depends on the severity of your sprain and where you are in the recovery timeline. There's no single answer for everyone.
For a mild Grade 1 sprain, you can often start putting some weight on it and taking careful steps within a day or two, listening closely to what your body tells you. That early, gentle weight-bearing can actually kickstart the healing process.
However, if you're dealing with a more serious Grade 2 or 3 sprain, walking on it too soon is a big mistake that can cause more damage. In those first few days (the PEACE phase), you need to stay off it completely, likely using crutches. Always let pain be your guide. If it hurts to walk, your ankle is telling you it’s not ready.
What Kind of Shoes Should I Wear?
Your footwear choice becomes critical when you're recovering from a sprained ankle. Think of your shoes as a supportive platform for your healing joint. For the time being, you need to ditch anything that compromises stability.
Here’s what to look for:
- Your Best Bet: Supportive sneakers with a firm heel counter (the part that cups your heel) and a wide, stable base are perfect. A solid pair of running or cross-training shoes usually hits that sweet spot of support and cushion.
- What to Avoid: This is the time to put away the high heels, flip-flops, and any shoes that are overly flexible or worn out. They offer zero support and put you at high risk for another twist, which could set you back weeks.
When Can I Drive After an Ankle Sprain?
Getting back behind the wheel requires more than just being able to sit in the car. Driving demands quick, confident foot movements, especially if it's your right ankle that's injured. You need to be able to switch between pedals without a second thought—or a wince of pain.
Before you even start the engine, do a simple test in your driveway. Sit in the driver's seat and practice slamming your foot on the brake. Can you do it fast and hard without sharp pain or hesitation? If not, you are not ready to drive. The ability to perform an emergency stop is absolutely non-negotiable for your safety and everyone else's.
At The Happy Health Blog, we're committed to providing you with expert-backed guidance to navigate your wellness journey. For more practical advice on everything from fitness and nutrition to injury recovery, explore our other articles at https://thehappyhealthblog.com.